| Speaker Installation

The photo above shows one of the stock sail-panel tweeters (left), and the replacement I selected for it (along with the x-over components). The original replacements that I selected were the Aurasound NT1-204-8Ds, but I replaced those with Dayton ND20FB-4s when one of the Aurasounds blew prematurely. Those were finally replaced by a pair of Dayton ND16FB-6s.
The sail-panel tweeters are used with a passive high-pass filter at 8kHz, 12dB/octave originally designed for the Auras, and are basically used to offset the off-axis high-frequency rolloff effect from the main speakers. 
The photo above shows the midbass driver from a Boston Acoustics R61 component system (used in my previous car), and the midbass speakers I've chosen to use in my new vehicle - Silver Flute's W17RC38-04. I've heard good things about this driver, and when I finally got my own to try out, I understood why - very smooth midrange: much better than the R61 midbass driver, which seemed to have a peaky upper end. Once I'm done with this particular project, I may find some other uses for those Boston Acoustics drivers - perhaps in my wife's car with an upgrade crossover to take care of the peakiness.
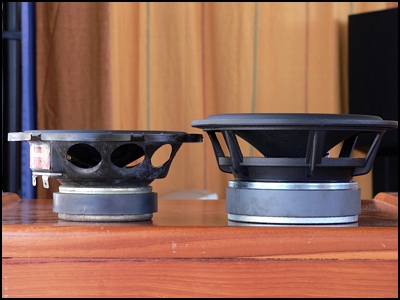
A side view of the two midbass drivers. The Silver Flute driver has a much larger motor and voice coil, and a cast basket (compared to the stamped steel basket of the Boston Acoustics midbass driver).
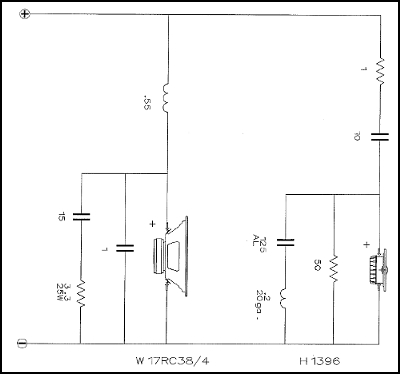
What the x-over for the main speakers looks like on paper. Nine components, not including the drivers
.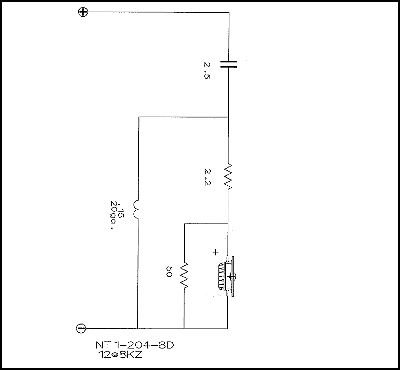
The high-pass filter for the sail-panel tweeters is illustrated above. Note - the Aurasound NT1s were replaced by the equivalent Dayton ND20s, and then subsequently by Dayton ND16s. The ND16s are actually producing the best results, which came as a bit of a surprise, seeing that the high-pass filter was not designed with them in mind. 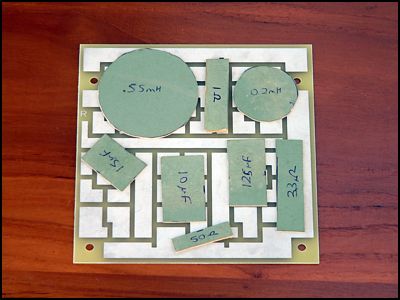
Laying out the crossover components for the main speakers. This took about two days to get right!

One of the crossovers, completely assembled. Note: the 8kHz high-pass filter for the Aurasound tweeters is implemented on a separate circuit board.
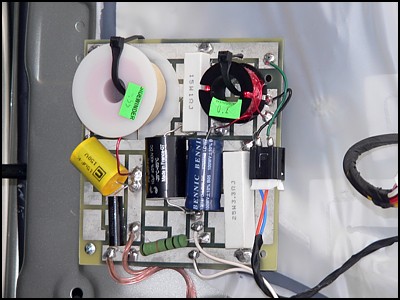
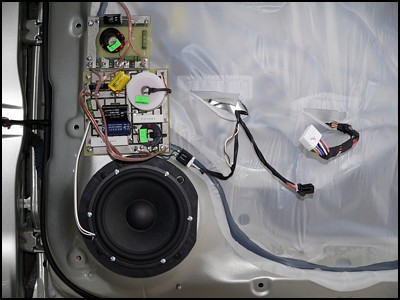
One of the completed crossovers, installed on the right rear door. This thing is huge! I've reused the stock speaker terminal on the crossover, so I don't have to cut into any of the stock cabling.
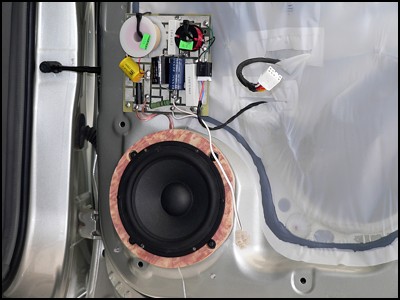
Another view of the crossover - it's almost the same size as the midbass driver!
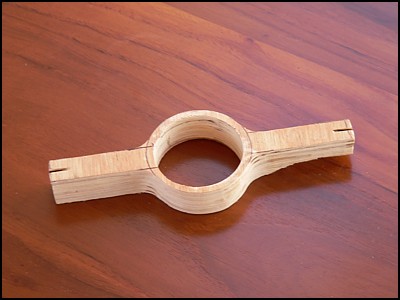
One of the midbass drivers. I made a mounting bracket for it out of 3/8" ply, spray-painted black.

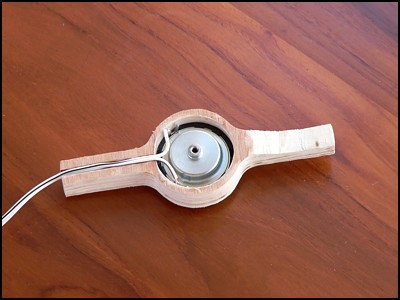
One of the tweeter brackets (viewed from the rear). The channel on one side is for the speaker cable. The other side is trimmed down a bit to ensure that it does not come into contact with the midbass driver.
The same tweeter bracket, viewed from the top. The two slots line up with the stock speaker grill.
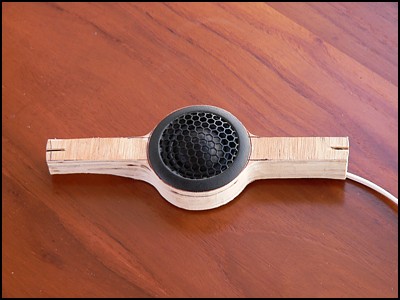
One of the tweeter brackets, with the tweeter installed (front view).
One of the tweeter brackets, with the tweeter installed (rear view)
One of the tweeter brackets in its installed location.
A front view of one of the installed tweeters (right rear door). It's nearly invisible in this view, and it's totally invisible when the panel is in place on the door. Mission accomplished!
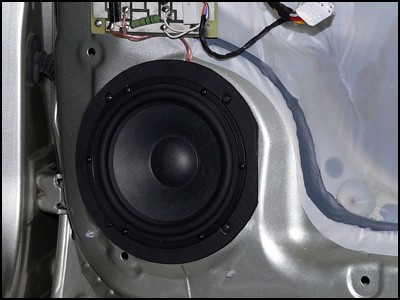
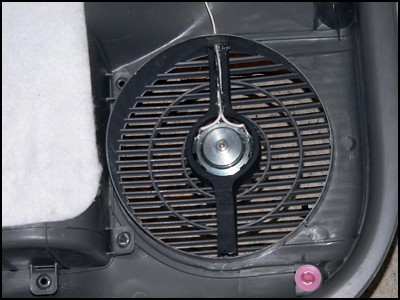
A view of the midbass driver installed in the front right door. The main crossover and the sail panel tweeter crossover are located above the driver.
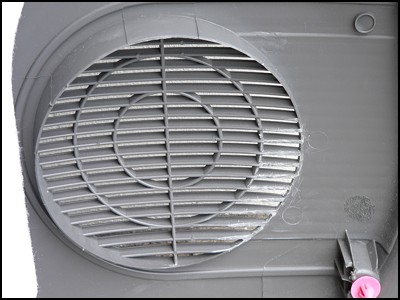
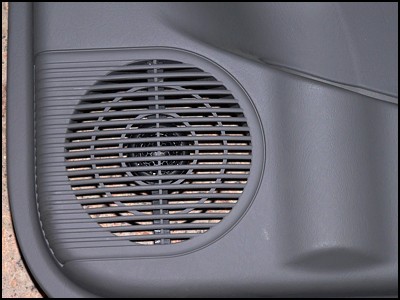
A close-up of the rear of one of the front grills. I had to shave it down a bit to prevent the midbass driver's surround from hitting the grill. This modification is invisible from the front.

One of the sail panels, with one of the new tweeters hot-glued into place.
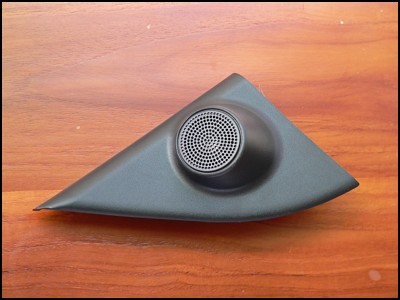
The same sail panel from the front. The new tweeter is all but invisible. Mission accomplished again!
[introduction]
[head unit]
[amplifiers]
[subwoofers] |